Friday, August 26, 2011

Button, Button, Who's Got The Button?

I do! I love using buttons on my projects. I never throw an old shirt away without salvaging the buttons first, either!


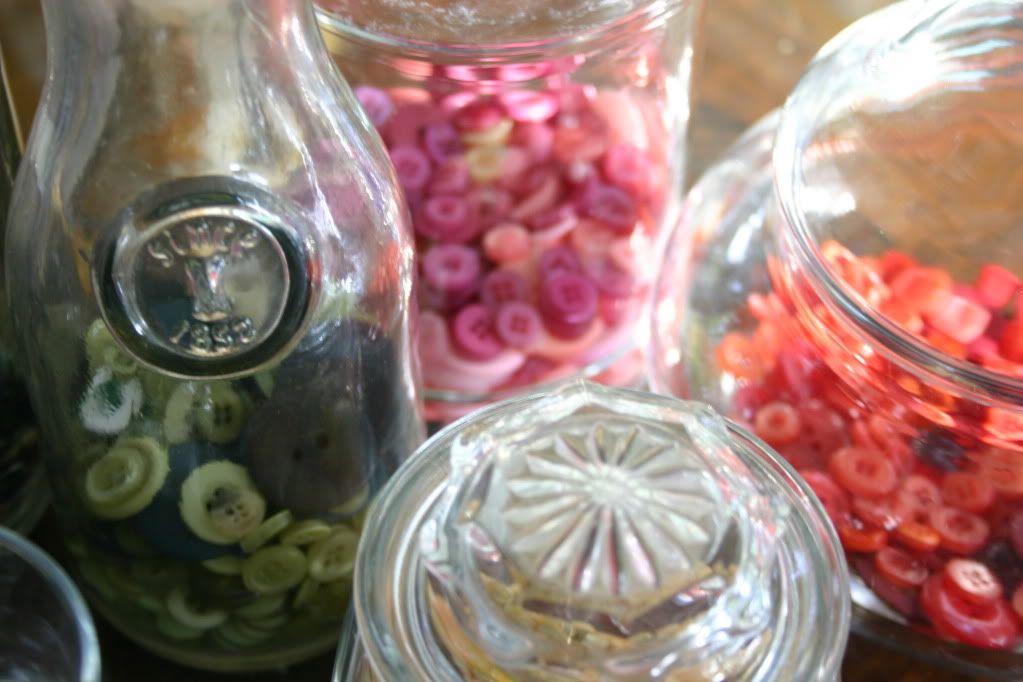
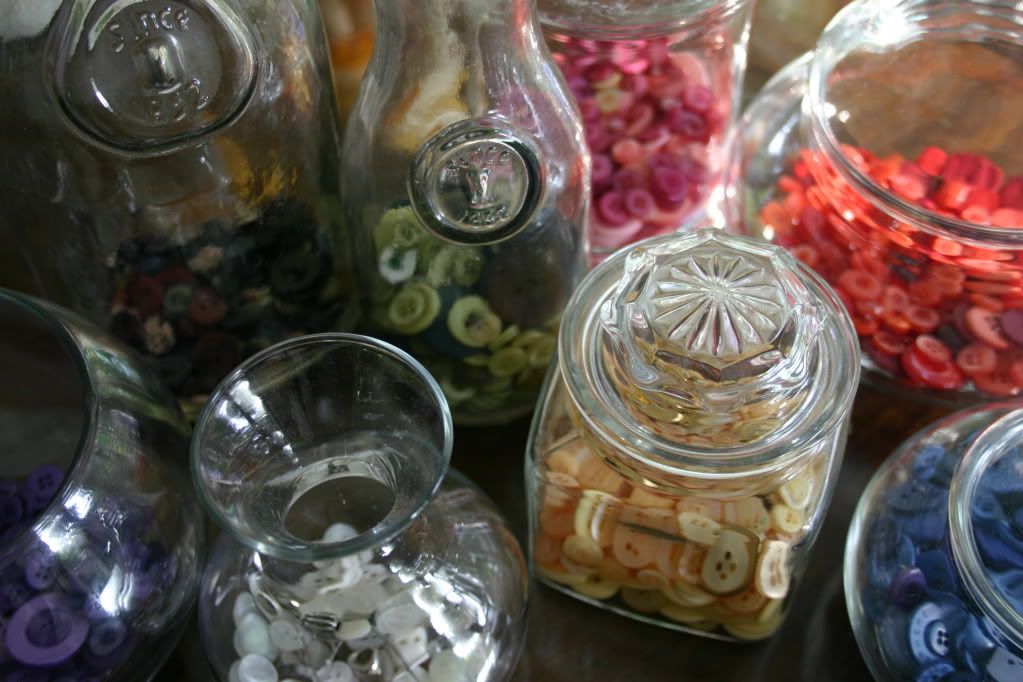
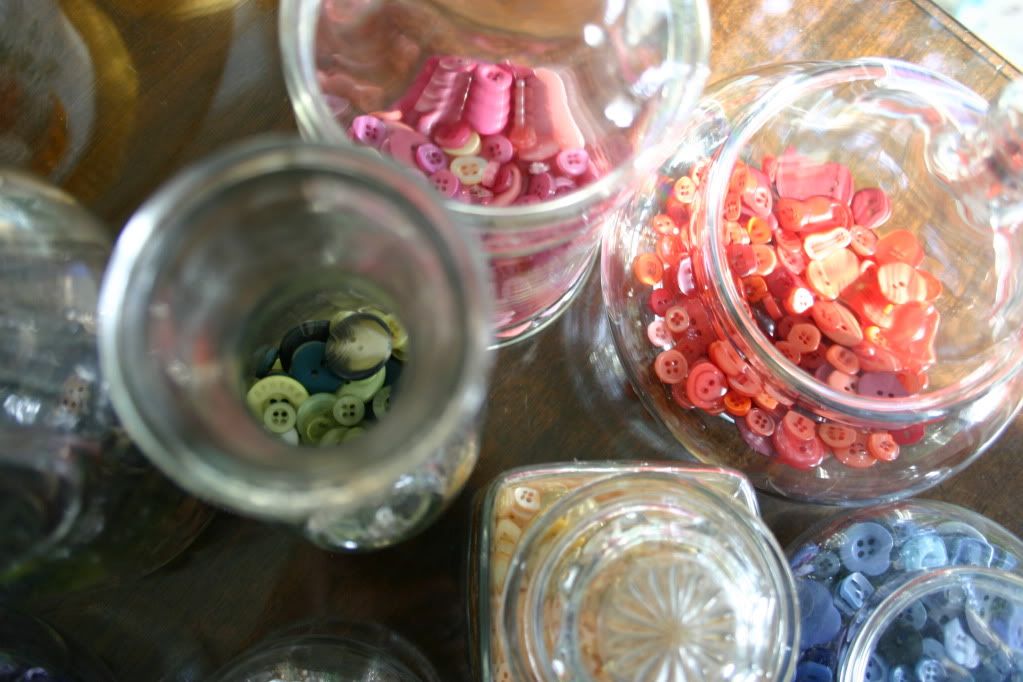
I made an amazing discovery today: Sorting buttons is only fun the first two minutes. After that, well, it's work. And lots (and lots) of tedious repetitive work! My button sort project has been long overdue. I know I'm certainly not the first person to sort my buttons by colors, but hey, I'm here now! I was lucky enough to have one of my little helpers with me who actually enjoyed putting the buttons in their proper jars.


I've been gathering these little jars for a few months. Glass jars have been on my GoodWill hunting list ever since I got the itch to make a terrarium. I love grouping items together that are not alike, but similar and I think these jars look so pretty together.

Some of the jars have lids, some don't. A couple are cute old milk bottles. Love them! I also love how the next time I need a button, I won't have to dig around for the right color! They're all here, organized and will look pretty on my shelf when I'm not using them!

Now that I have these buttons all sorted, I think I need more buttons to get these jars filled to the top! :)

Pin It

Thursday, August 25, 2011

I finally did a Unity Stamp Company Sketch Challenge

My email inbox is a dangerous place to be if you're a message. I always have the best intentions to read my emails, but too often, they get "saved as new" only to become one of the many other messages buried underneath hundreds of other emails.

That's what usually happens with my Unity Stamp Company emails too, but a couple days ago I noticed a message that said, "Six Days Left for the August Challenge!" It was about the Unity Kit of the Month Sketch Challenge and I decided to print it up and actually do it this time! Besides, I was needing a little inspiration. What better way to get the juices flowing than with a sketch?! My first sketch ever at that!

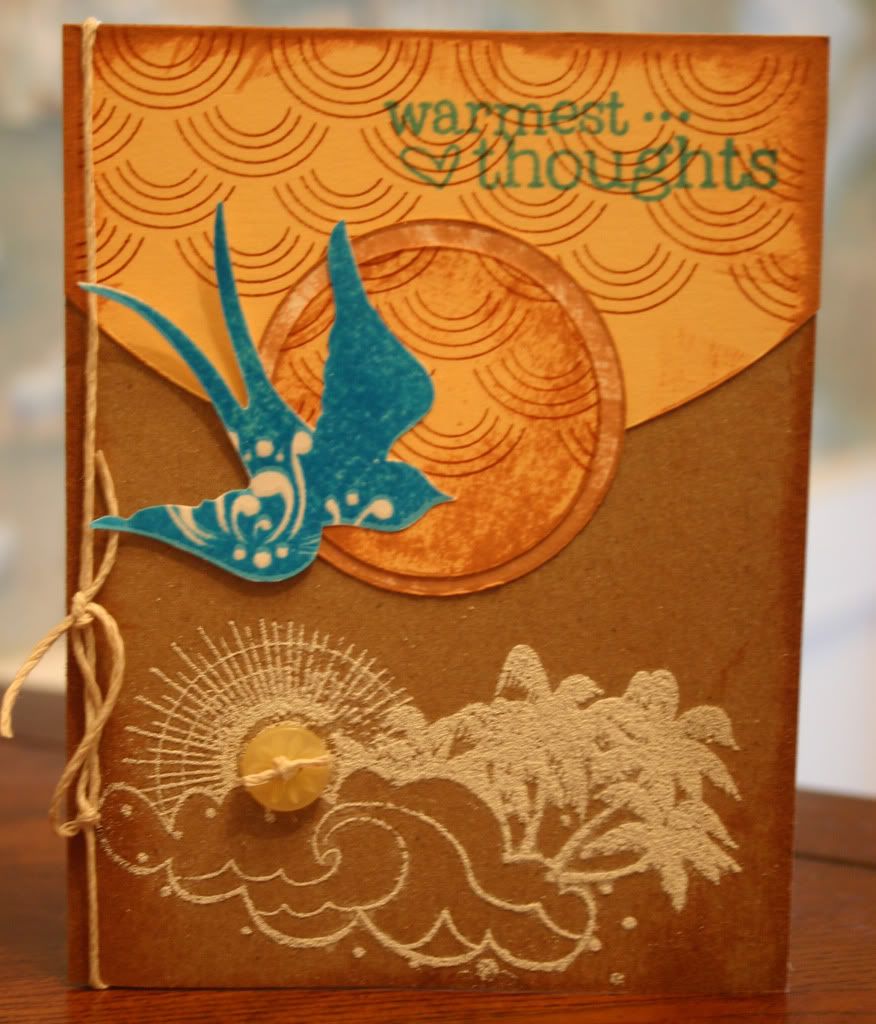
So, here it is! I used my June 2010 Kit of the Month, Fly Free. I just love the beachy feel of this kit. It's so "California".


I gave it sunrise/sunset colors. Love those warm colors that you feel when thinking of the sun. You probably can't tell from the picture, but I actually broke out the embossing powder for this card too...twice! On the soaring bird and on the sunny waves below. I found a button in my jar with a sunburst look to it so I knew that needed to go on there too!

Sunday, August 21, 2011

Ballard Designs Made Me Do It!

Yesterday afternoon, I got the sudden urge to finally take care of the ugly powder blue striped walls in my daughter's room. They were dingy, didn't match anything and were really dated. I've hated them since we moved into our house... nearly six years ago! Well, before the urge left me, I hopped out of bed (I happened to be trying to take a nap at the time) and grabbed the keys, and called out to the kids, "Come on kids, we're going to Lowe's to get some paint!"

Since it was her room, I let her choose the color (within reason of course). I had heard about the Valspar paint with primer in it already and since we've had great luck with Valspar paint in the past, I made a beeline to their signature wall. She went straight to the inch worm green and I approved.

Hubby was out of town and I'm not sure if that helped me paint or made it harder. I'm gonna say it helped because if he were here he would have talked me out of painting in the first place. Although my aching body tells me that it hurt because he usually works the roller while I cut in around the edges with my Purdy paint brush. I swear you can paint a room with just a drop cloth, paint roller, tray, and a Purdy. No tape needed if you have a steady hand and a good paint brush to go around the edges. Trust me. Our first home was nothing but a huge painting project and I've tried everything! (gasp for air now! ... now onto my post.)

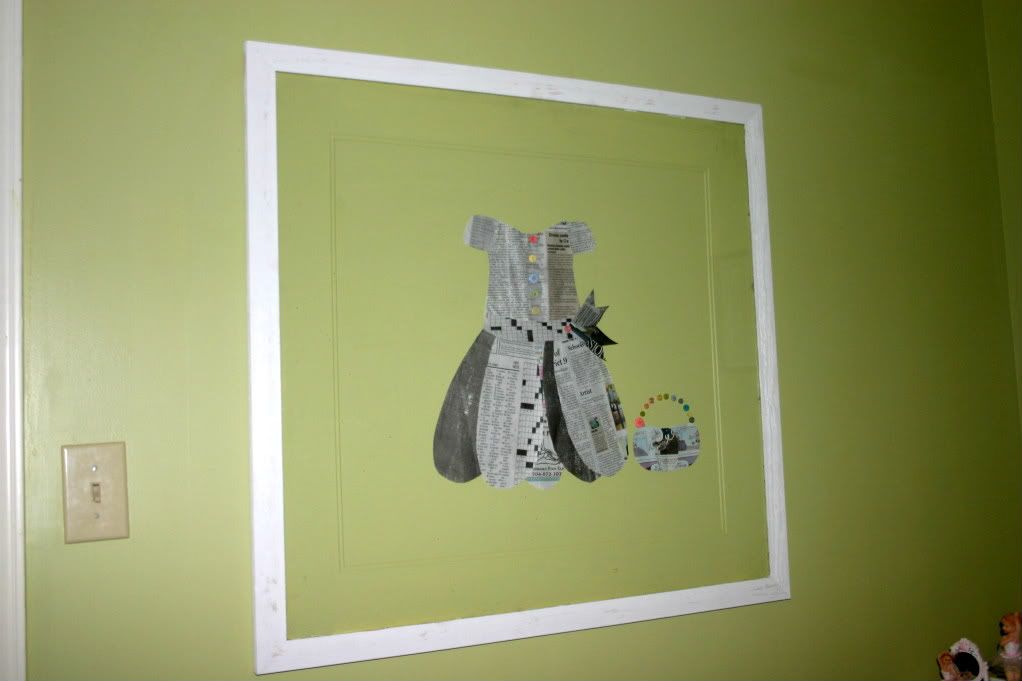
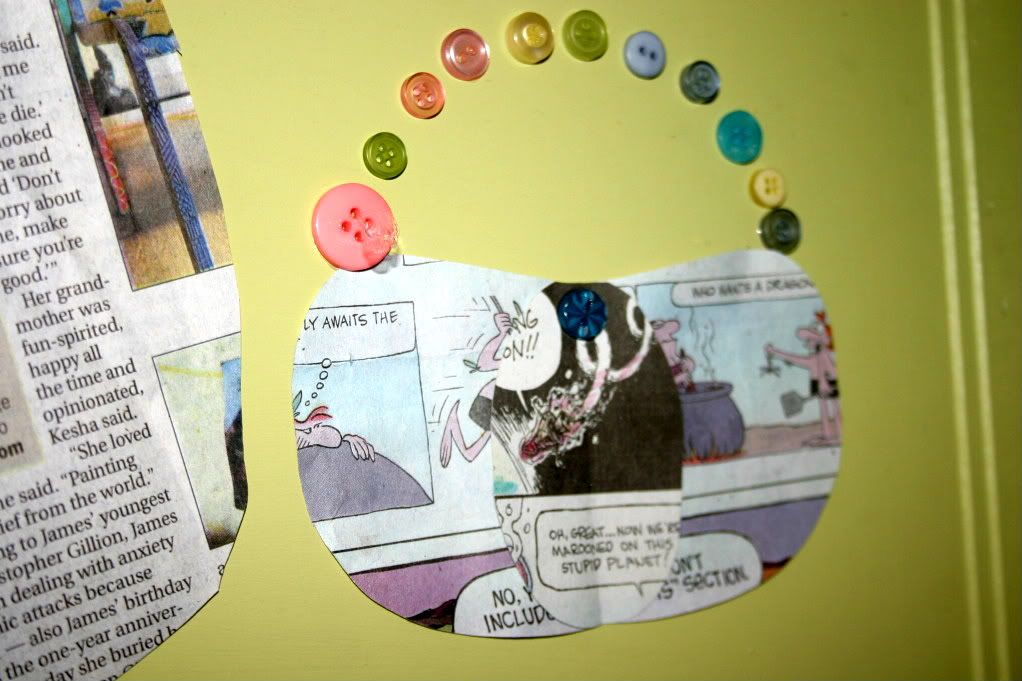
Have you ever flipped through a Ballard Designs catalog?! Beautiful stuff in there and it's full of lots of inspiration to get you motivated and decorating. Well, I came across something in the catty that inspired me. The Newspaper Dress Giclee Print. It is adorable, but at $299 plus added shipping charges due to its large size, there was no way I was going to have Master Card (said in my best British accent) handle this transaction! So... I improvised and made my own version for my Taylor!


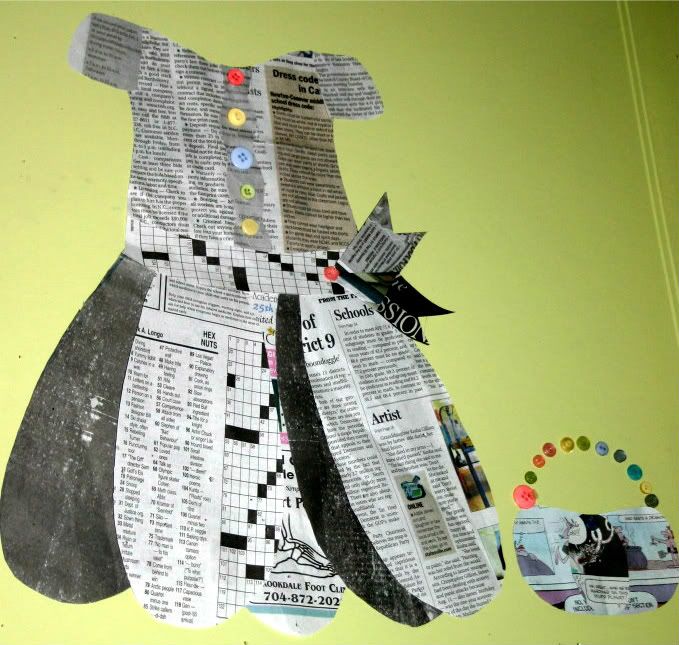
Of course, it's not the same style dress, but since it was for my little girls room, I wanted to make it more of a child's dress. Taylor just wanted to add a purse to it.


First, I pulled out an old picture, removed it from the frame and painted right over it with left-over paint from Taylor's walls. I then moved on to piecing the dress together. As we were going through our newspapers, I found a misprint page that I thought looked neat. The page was mostly black and I used it for two pieces of the skirt.


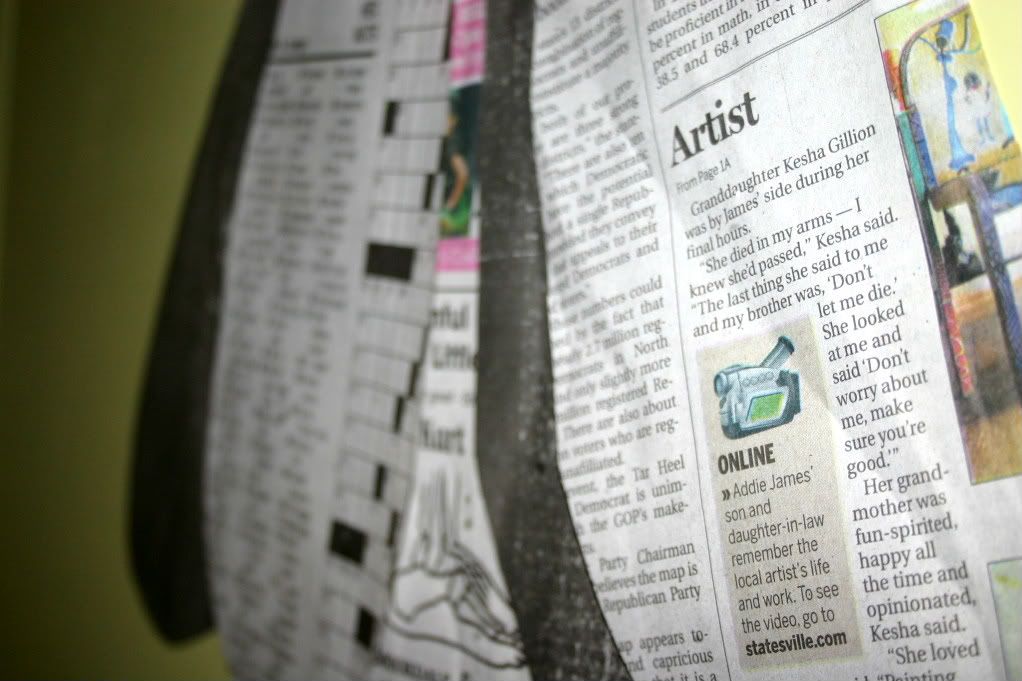
I then looked through the pages making sure not to use pieces with words describing unsettling medical conditions, obituaries, or just plain weird stories. The Lifestyle section seemed to be best for these kinds of things.


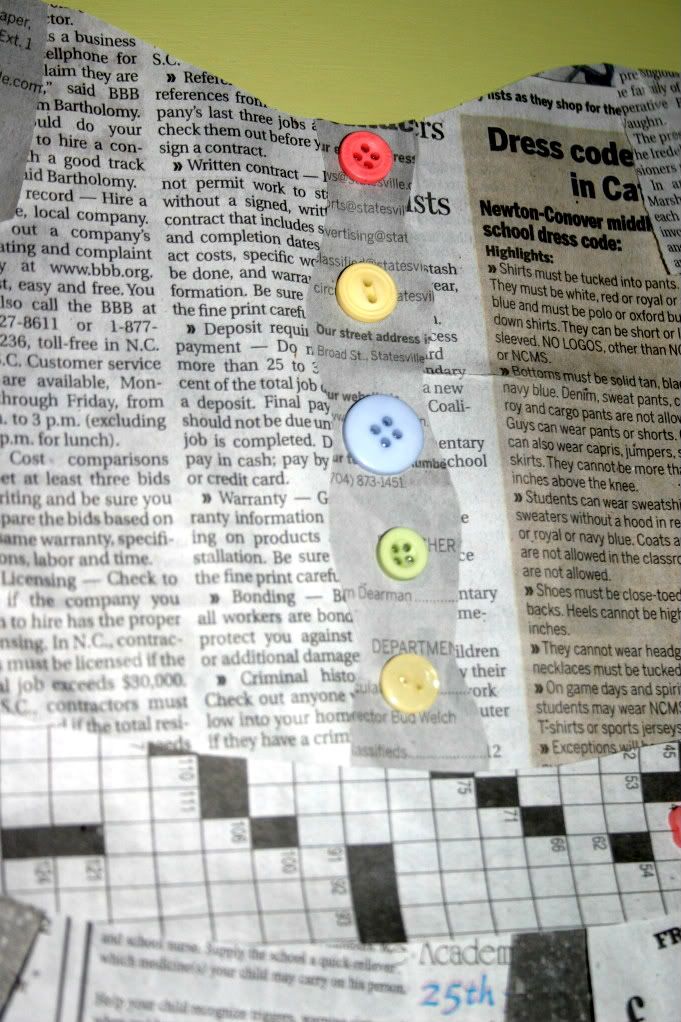
For my own touch, I added buttons for a little color. Taylor helped me choose these.


And here's Taylor's favorite piece, the hand bag! She made a special request that it be clipped from the comics. I complied. :)
Pin It

Tuesday, August 16, 2011

The (I can't believe I had a reason to make a) Tomato Card

Tomato season is in full swing right now and I couldn't be happier. There are two kinds of people this time of year. Those who have grown and are enjoying their own succulent tomatoes, and those like me, who are more than happy to help a neighbor with too many tomatoes on his hands. Our nice neighbors happened to be outside the other day at the same time our kids were outside playing and lucky for me, he was picking his tomatoes. My daughter came running inside saying that Mr. Fox wants to know if you want some tomatoes. I managed to blurt out a "definitely!!" before I started salivating so much that my speech was impaired.

That night, I feasted on a Tomato sandwich and thanks to 90 degree weather, it was still warm from the sun! YUMMY!!

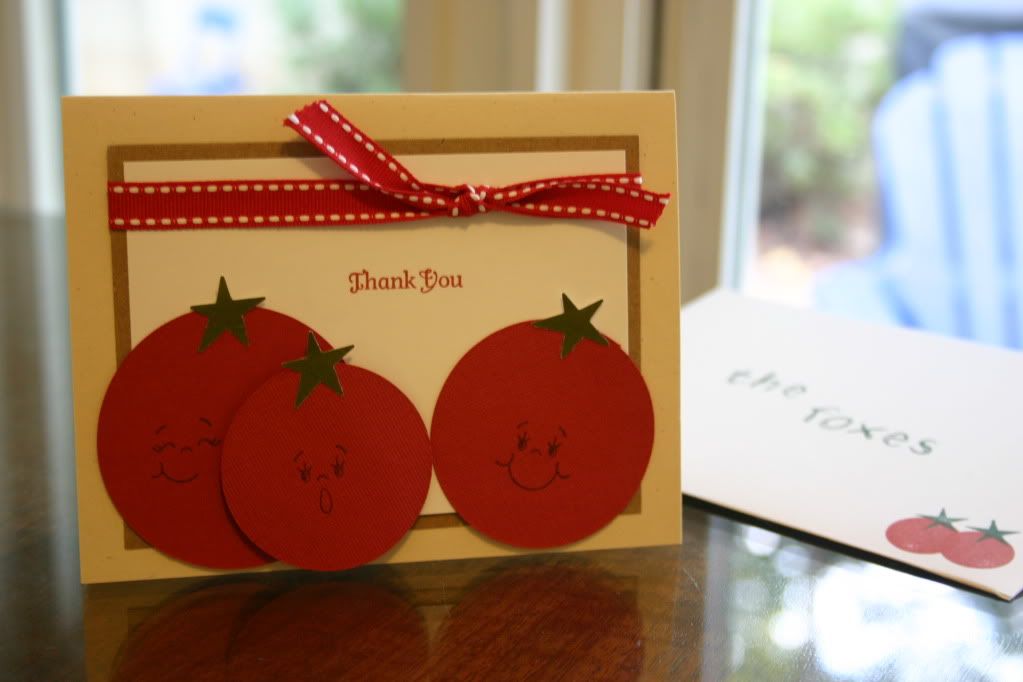
Those tomatoes were so good that I just HAD to make the Foxes a thank you card to show my appreciation. They are not stampers, so I'm pretty sure they have deemed me insane. I guess I am a little crazy...crazy for home grown tomatoes that is! There's nothing better this time of year...besides back to school!

For this card, I cut out circles with my Creative Memories Circle Patterns. (An oldie but a goodie!) I punched the little green leaves with my, again oldie but goodie, star from the Creative Memories Galaxy Micro Maker. I then stamped the cute faces on with a face stamp made by Peachy Keen Stamps. I bought those cute little faces right when I first started stamping. They're probably one of the first five stamp sets I've ever owned, but I still love them and use them whenever I can. I even stamped the outside of my home made envelope using Close To My Heart Doodle Alphabet, another set I've had forever and still use often. The shapes for the tomatoes stamped on the envelope came from a Stampin' Up! Playful Pieces Hostess set.

Friday, June 24, 2011

My Newest LandMark Letters

When we went out of town this past spring break I came across some neat letter finds. Here are some of them!

This C may very well be my favorite for now. It was just a matter of luck and timing that we came across this new Ferris wheel under construction in Myrtle Beach. It's actually nothing to sneeze at either. It's the SkyWheel and it's the tallest wheel in the Eastern part of the US. Here is an article about it. It looked like this before lunch and by afternoon, the full circle was complete! I got my C and I'm so happy.

In Washington, DC, we walked around to the museums and I snapped a few photos. I found this L when I looked across the roof line of a building with the Washington Monument in the back ground. I was needing some good L's so I took it!

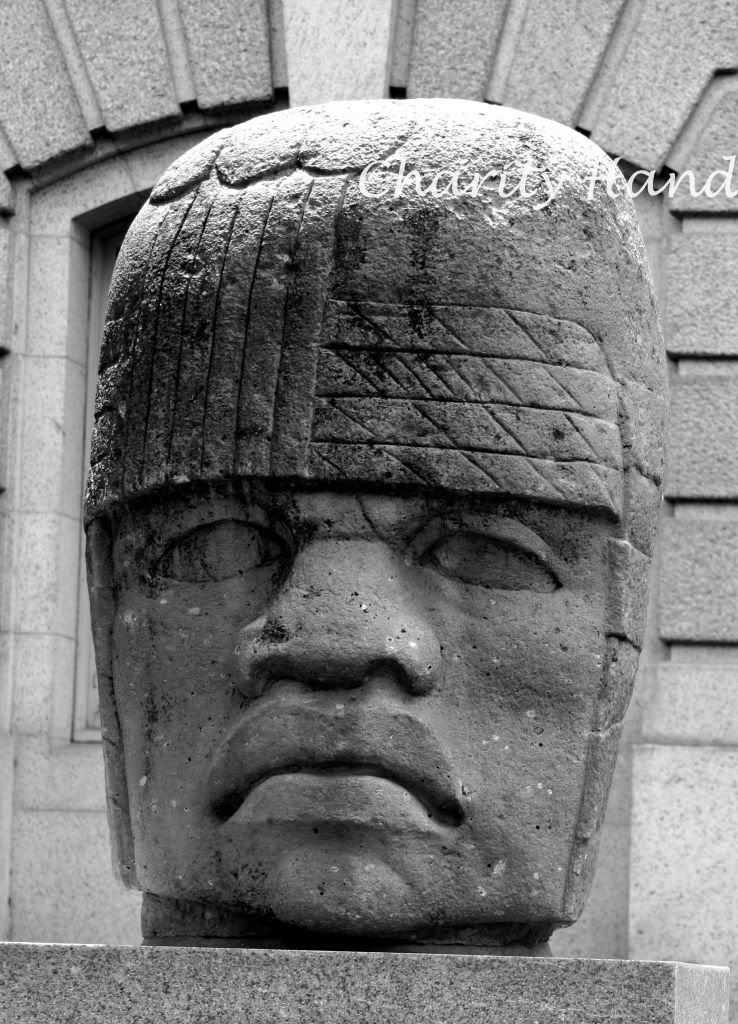
O's are pretty easy to find, but as we were walking into the Smithsonian Museum of Natural History, I couldn't resist snapping this O found with the Colossal Head. So tribal. So neat! So Olmec!

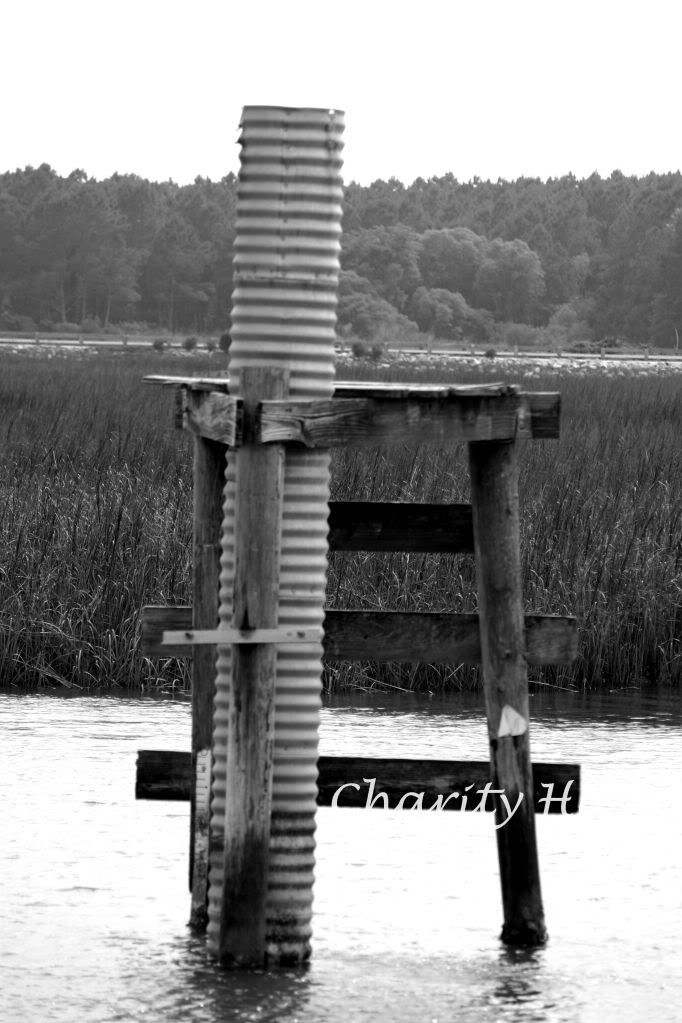
This L came from a South Carolina marsh. It's just a pipe and wood to some people, but to me it's an L.

At South of the Border, you'll find some craptastic junk inside the buildings. But outside... well, that's another story! Here's an A. It's Pedro and he's welcoming me to take his picture!

Pin It

Wednesday, June 15, 2011

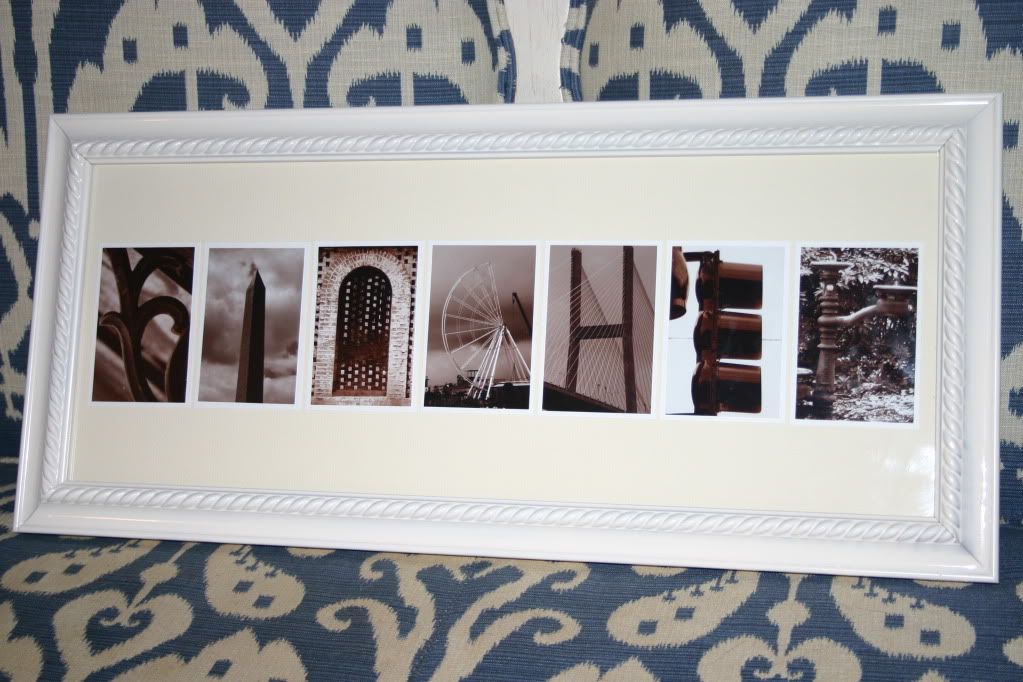
LandMark Letters in Sepia for The Finchers

My husband's best friend has the most amazing parents. His dad calls my husband his other son and they were so kind to give us the keys to their mountain home for the weekend. To show our appreciation, I made them a LandMark Letter gift.


Since their mountain home has a rustic interior, I didn't think the typical black and white would do, so I switched it up and printed these in sepia and framed in white, rather than black. I matted each photo on white card stock and used cream textured art paper for the background. 

Look closely at the C. I absolutely love this. I was so lucky to happen upon a ferris wheel that was under construction in Myrtle Beach when we were there for spring break. When we drove by later on in the day, they were finished and the C had changed to an O.

I usually print my photos on 4x6, but this time I made them wallet size since a last name with seven letters would require a really big frame if printed at the larger size.

The frame was a thrift store find that I spray painted off white. Have I ever mentioned that I absolutely love spray paint? Well, I do! 

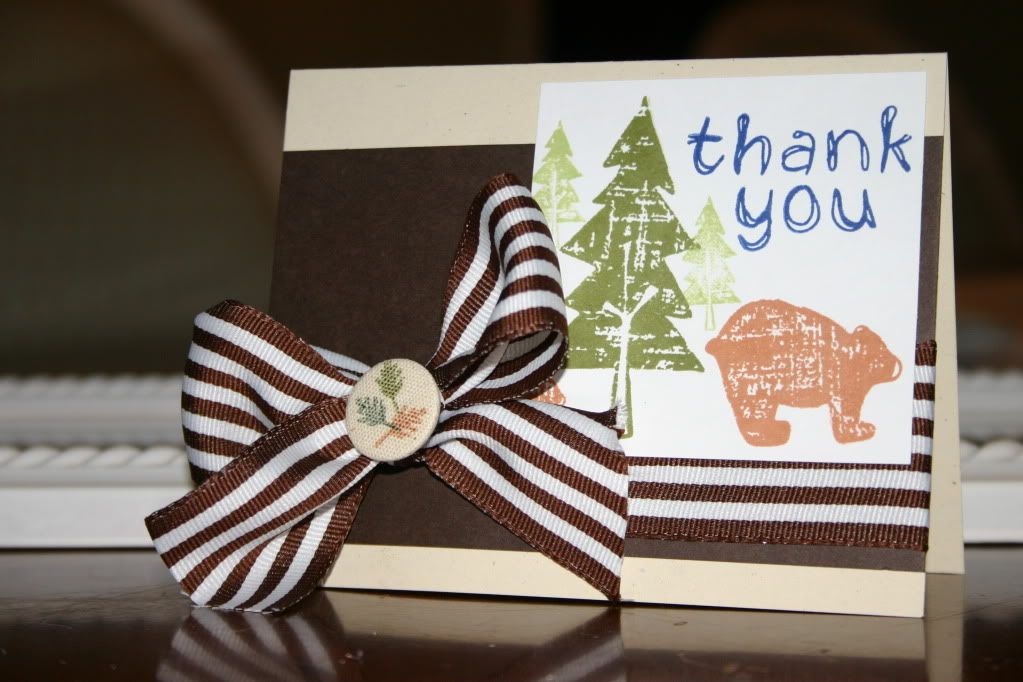
I also made them a little thank you card to go with it. 


I used CTMH stamps. I believe it's the Roughin' It set, but I can't remember if that's the correct name. I also stamped on a CTMH covered button, which I think turned out quite nicely, if I do say so myself. Those buttons are fun! 


Pin It

Tuesday, June 14, 2011

How I Solved my Linen Storage Problem with $2

There are so many things about my home that I just love, but if I could change something on the inside it would be my laundry area. It's not even a room. It's just this closet with shelves and since the closet is a further into the interior of my house, forcing the dryer hose to be over 13 feet long, nothing dries quickly! urgh.

Oh, and not to mention the fact that this closet is right beside my bedroom. It never fails that if I'm drying something with lots of buttons or buckles, that's the night when I have to go to sleep with the dryer still running because I forgot to turn it on earlier in the day or it's running for a second time because it didn't dry all the way the first go-round.

Clothes dryer rant aside, this closet has also served as my linen closet and it has been a mess since we moved here...over five years ago! Well, yesterday I decided to change that.


Here's what I had to work with. In this photo I had already started pulling sheets and blankets from the shelves because it looked so bad. I even found the paperwork to our washer and dryer that had been there since we moved into the house. It was untouched. Those shelves have basically served as a catch all for junk, but they were somehow so full that I had no room for laundry detergent, hence the basket of bottles on top of the dryer!


Here's where the $2 comes in. I found these wire baskets at Goodwill yesterday. When I got them home and took a closer look at them, turns out they're chafing dish holders, tee hee. Now they have an entirely different use. :)


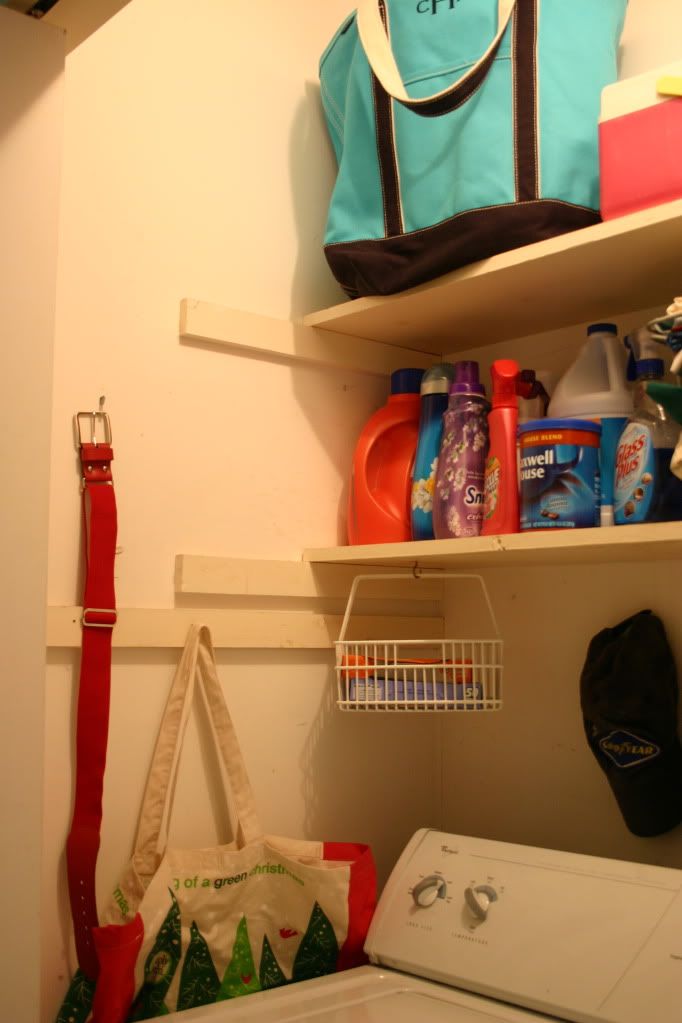
And here it is all neat and organized. I have a big bag of crib sheets and bed skirts ready for Goodwill too. I don't know why I was hanging on to those for so long! I also made enough space on my shelves for my cute hot pink cooler, beach bag that I just got from Barnes and Noble and my monogrammed Land's End tote bag.

Since my husband likes to drive me crazy by throwing his sweaty hats on top of the dryer at any given moment, I decided to stick some nails into the wall to act as pegs for him to hang his hats on. I also pulled out an old coffee can, cut a slit into the lid and placed it on the shelf. It is perfect for stashing loose change and buttons as they come off into the wash. ...now if only I can keep mommy's new change can a secret from the kids!


Funny thing about that little hook the basket is hanging from. It was always there but I didn't know it. After clearing this shelf, I discovered that it was upside down. The hook was on the top side serving no purpose so I flipped it over and now I have something to hang my fabric softener sheets (that I never use) from. I also put a nail on the wall for the occasional belt that I have to yank from pants before they go into the wash. Today's belt was my son's baseball belt.

And there you have it. My newly organized laundry/linen closet. My actual linen closet is upstairs, but I hate going up the steps just for a pillow case, so this is where my sheets will remain. Nice and neat!