Monday, June 13, 2011

Making a Hummingbird Feeder with My Little Hummingbird.

We spent the weekend in the mountains and not only did we get to watch the sun rise over the mountain tops Saturday and Sunday morning, we were also entertained by all the hummingbirds coming to eat at the feeder hanging from the porch. I nearly drove myself insane trying to capture one with my camera. I did get one shot, but it's really no good.

Not only did I enjoy the hummingbirds, but my daughter did too. I tell you, if she were a bird, she would be a hummingbird too! These birds pretty much live on sugar and so does my sweet Taylor and she's as small and quick as a hummingbird.

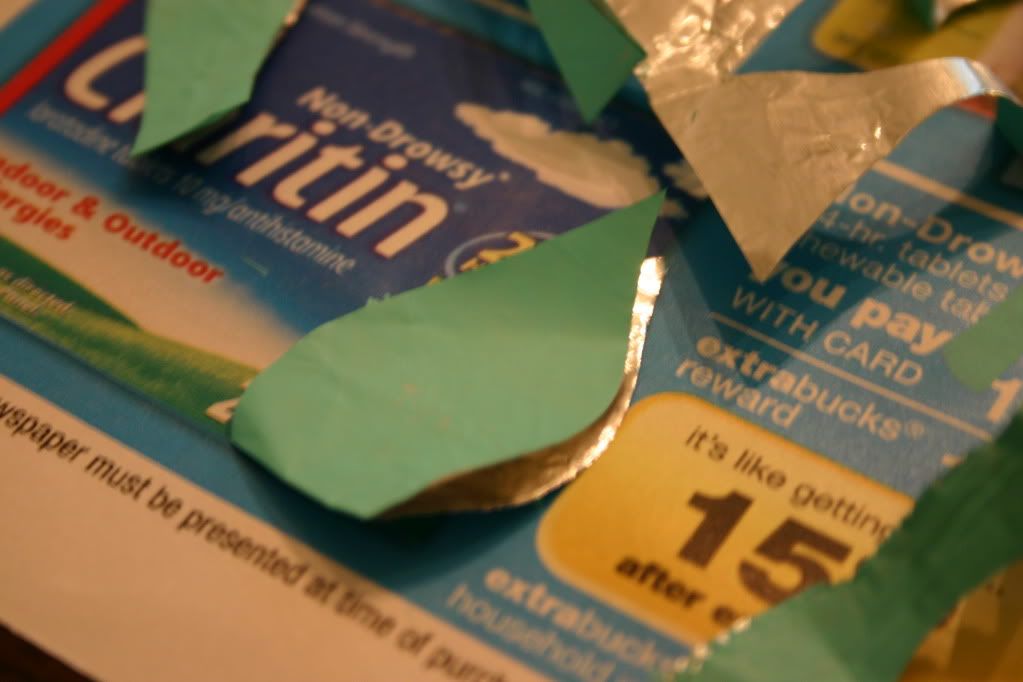
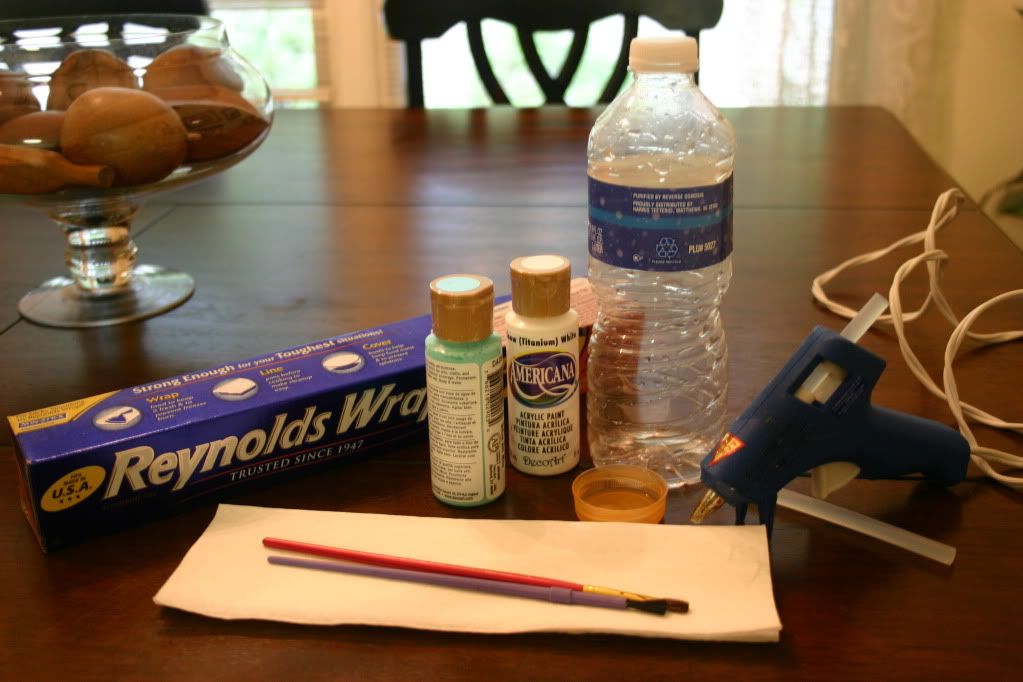
This morning, Taylor and I made our own feeder for our porch. This is what my kitchen table looked like at 7 a.m. today (I'm still on watch the sunrise over the mountain- time).


We used an empty water bottle, Gatorade cap, hot glue, tin foil, and non-toxic paint. Also, we used some twine for hanging, but that's not pictured here.


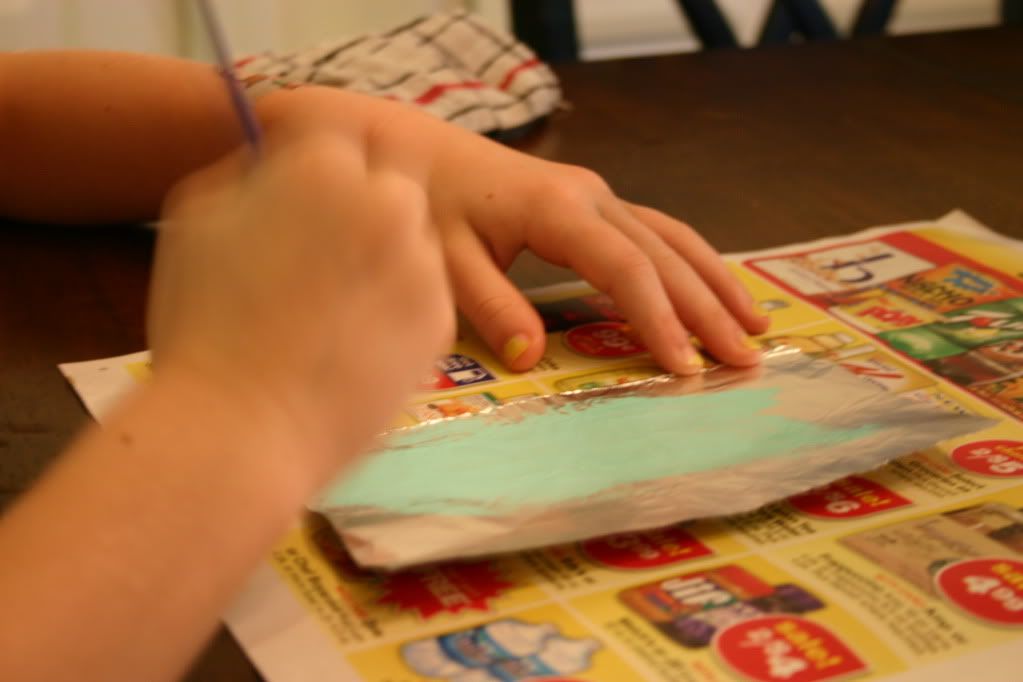
Since hummingbirds drink nectar, they needed some sort of flowers to pull the sugar water from. We used tin foil to make the petals, but first we painted the foil with non toxic paint. Here are Taylor's little hands in action.

After the paint dried on the foil, I folded the foil in half and free handed the petals with my handy Martha Stewart craft scissors. Love those things! I then opened the petals and crossed them to make an x. Next, I took a poker and put a hole in the middle and glued the petals together.

Here are the petals glued to the cap. I touched up the paint and then went a little crazy with the other colors.

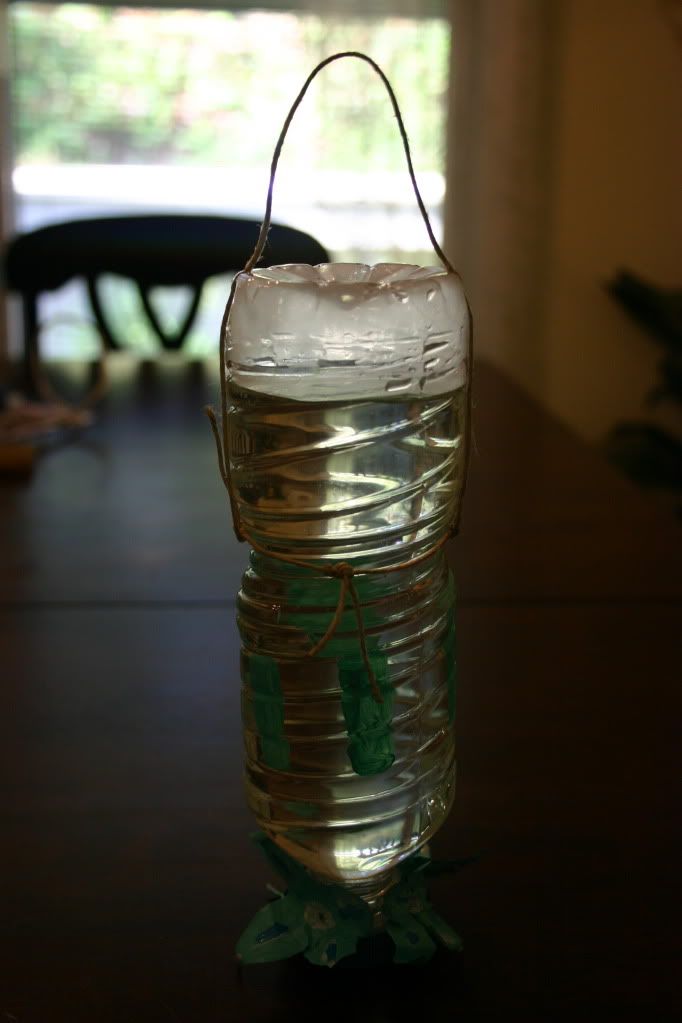
And here you have it! A hummingbird feeder made by Taylor and me. It is filled with sugar water that is 1 part sugar to 4 parts water. We hung this up this morning and we've already had a hummingbird come to feed!

I found the instructions on making hummingbird feeders at this site: http://www.worldofhummingbirds.com/feedersmake.php. Check it out. It has lots of helpful information and more detailed instructions than I gave you!

Tuesday, June 7, 2011

A Gift for Ms. Keri

My youngest son has had a wonderful speech teacher this year. Her name is Ms. Keri and he has loved working with her. I asked him why he likes her so much and he told me that it's because she plays games with him. Well, I like her so much because she's helped him find his L's and she's working on his K sounds.

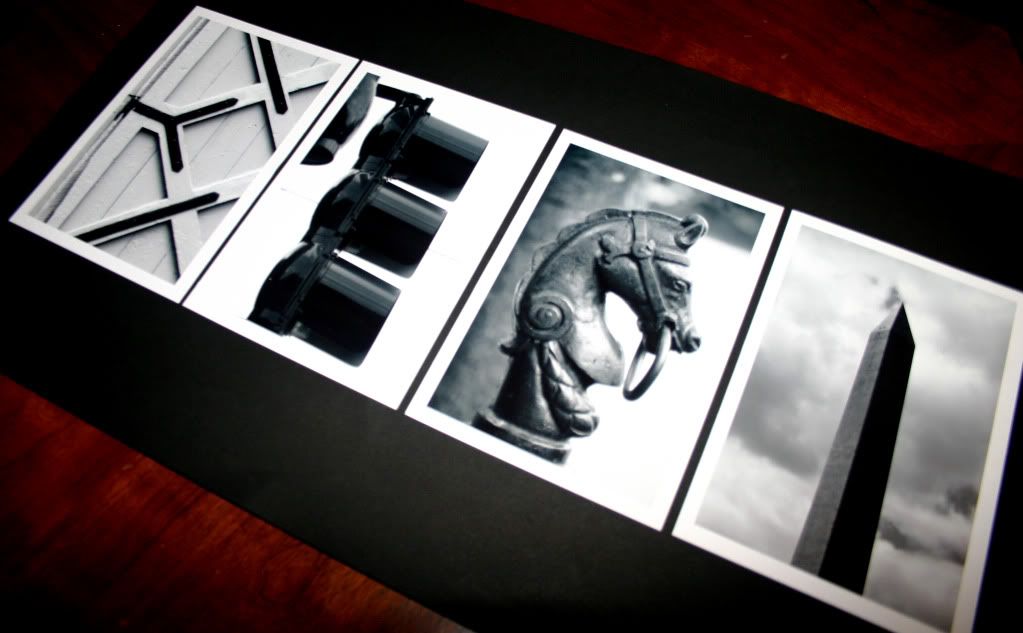
Tomorrow is his last day with her. Next year he'll be in elementary school and will probably have the resident speech teacher so we will be saying farewell! Here's a little something that I made for her as a gift to let her know how much we appreciate her. My first swing at giving someone my LandMark letters as a gift!


I pulled out my architectural letters for this one! I even got to use some of my new ones from our last vacation. I even re-purposed an old frame to be 100% crafty on this project!


I printed my pictures at the Walgreens 1-hour photo lab yesterday. I then matted them on 4.5 x 6.5 white cardstock. I used a large sheet of black paper that I bought in the art section of Hobby Lobby as the background. 

The frame itself came from this really neat thrift store that just opened. They take old junk and re-purpose it to make nice new things. I picked up the frame from the warehouse in the back for a dollar. The paint even came from there. It was a small, half-full can of high gloss latex paint. I paid $1.25 for frame and paint! This project cost me under $5.


One great thing about architectural letters is that they are everywhere! The K came from one of the barn doors at Atalaya in Huntington Beach, SC. (Yes, that's South Carolina. There's one there too!) The E is a traffic light in Savannah, GA. Of course you know, traffic lights are everywhere too. The R was a horse mount in Savannah, GA...or was that Charleston? Okay, so I can't remember where that one came from, but both cities are very similar! The I is one that most people know of. Taken in Washington, DC. The Washington Monument!

One reason why having a well stocked craft room is beneficial to your family.

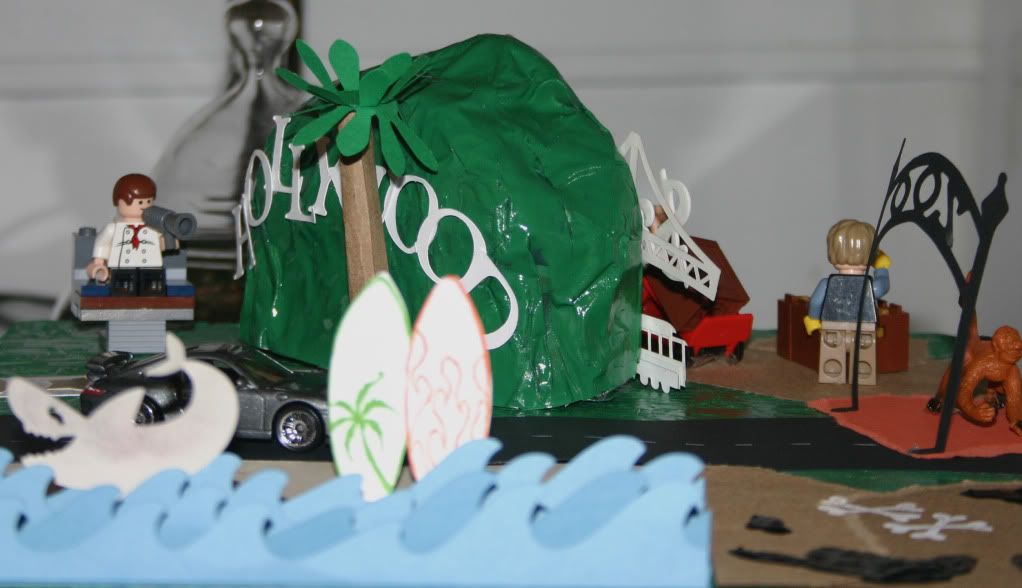
It's the last week of school and my son has one final project to complete. It's due Wednesday and last night it hit me that he pretty much had NOTHING done. On Sunday, the kids and I made a paper mache mountain, but other than that, we had a semi-dry paper mache mountain and a piece of raw plywood. After thinking about our busy schedule for the rest of the week, I realized that he only had last night to work on it so I herded the kids and hubby upstairs to my craft room and we got to work! ...well, after the spray paint dried on the plywood and mountain.


I've never really done paper mache, but I knew that there was a way to do it using strips of newspaper and watered down glue, so we went with that. Thank you Martha Stewart for that nearly dried up bottle of glitter glue that has been in my craft stash for a couple years. It now has a good use! We used my old, or should I say vintage in order to sound fancy, Sears Merry Mushroom napkin holder as the mold.


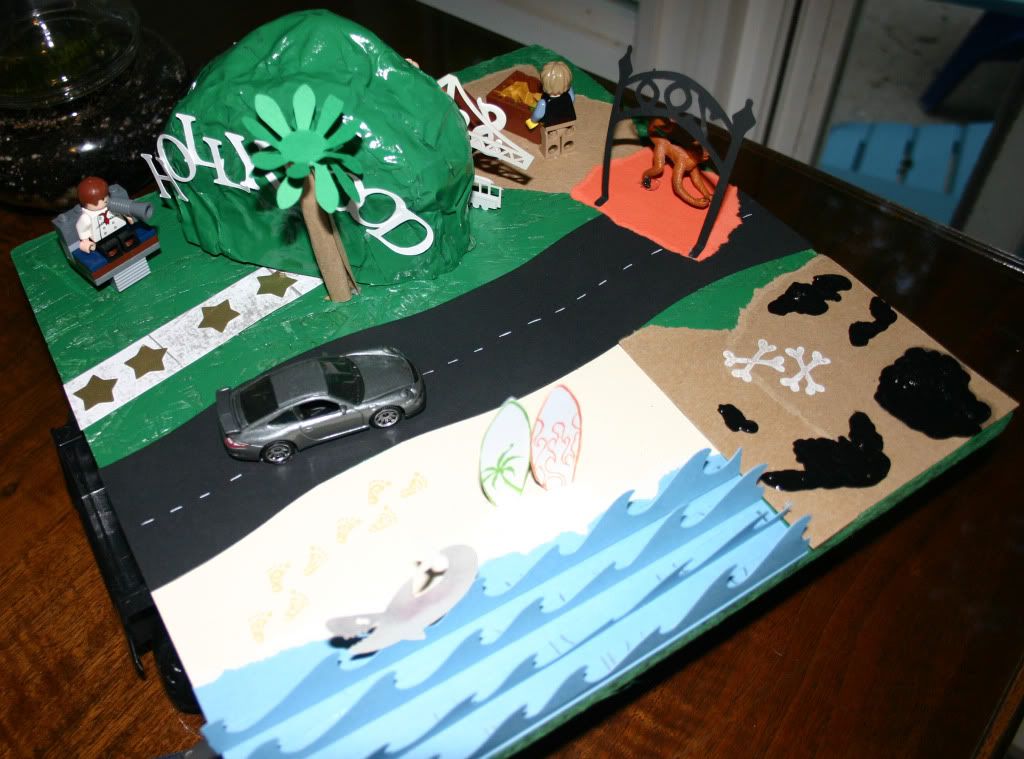
Then I fired up my Cricut, making the Hollywood letters, Zoo sign, these waves and that fierce shark. I pulled out my Martha Stewart (Thanks, again!) scoring board to score the bottom quarter inch of these waves so I could fold them to make a base so they would stand up. The surf boards are from an old TAC stamp set.

The road was cut on my old Creative Memories wavy paper trimmer and I just drew in the dotted lines with my Uni-Ball gel pen in white...Love that pen!

I kept the kids busy with Legos while I was playing with paper. ...I mean helping my son work on his project. They built the people and props with them. They stayed busy the rest of the time picking up all the Legos that that they dumped on the floor in the process!


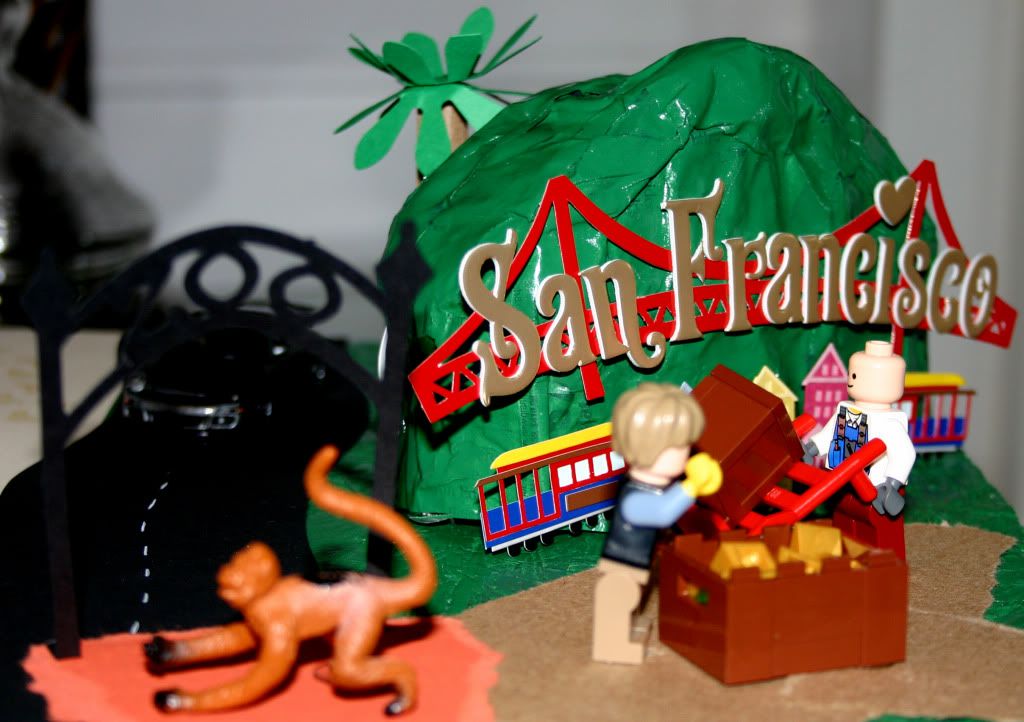
A long time ago when I saw that Jolee's Boutique San Francisco sign on clearance at Hobby Lobby, I knew that it would some day have a purpose. Well, here it is! Eighty cents well spent! The gold 49ers corner of this project came together very well with my son's Legos.

The large items are held down with glue dots. Man, I love those things! They're even securely keeping that Hot Wheels Porsche from rolling around! The paper pieces are just held down with my handy Scotch ATG tape, which I do believe is one of my best purchases!

Can you guess the theme of this project? I bet you can! It's California and it takes a look at some of the places in Cali that make it interesting. We have Hollywood of course, San Francisco, the PCH, San Diego Zoo, La Brea Tar Pits (black t-shirt paint worked nicely for that tar!) and finally, the beach. It is on wheels and ready to go in the parade. All of the kids had a state to make a float so I'm looking forward to seeing them all together! (And to see how our project compares to the others....oops, did I say that?!)

So you see, when you buy tons and tons of craft supplies and tools, you're not only buying something for yourself. You're buying emergency items to help bail your son out of procrastination! :)
Friday, May 27, 2011

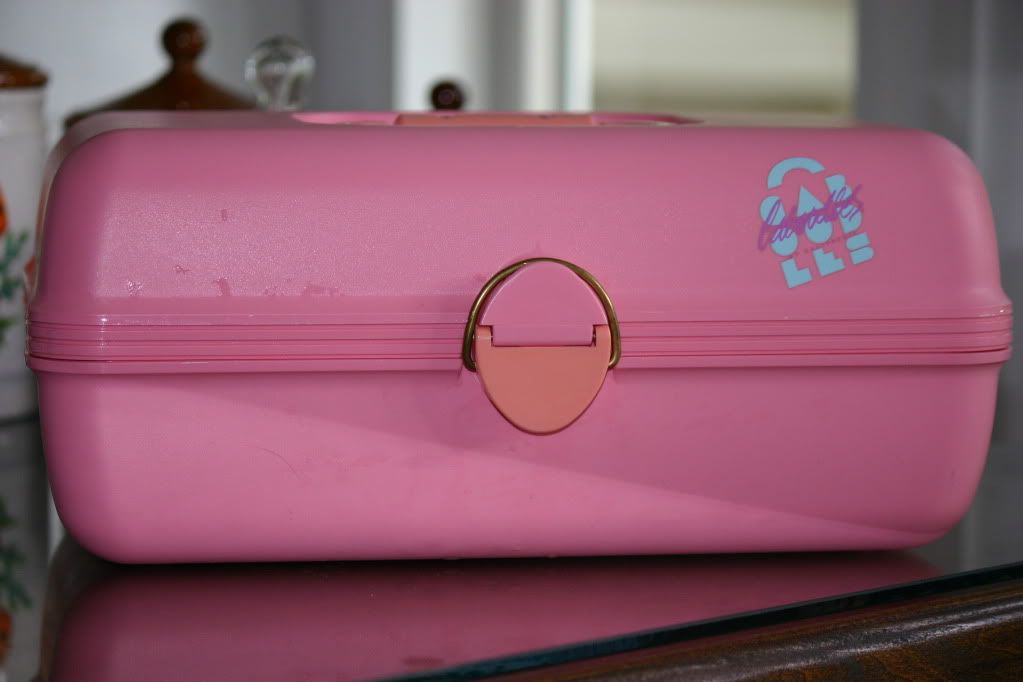
I do believe this is my favorite one yet! (More Caboodles craziness.)


I decided to swing by the Goodwill on Wednesday before picking my son up from school and look what I found! It's pink with peach hardware! So 90s fab and I love, love, love it! I really hope to find a black and white one with a hot pink handle one of these days. These are so much fun to collect! I just hope my husband doesn't call me out on to this madness. 

I was so excited to snap a photo of this baby that I didn't even notice that I missed a couple spots when I was drying it off. oops!
Pin It

Stampin Up! Meets Pottery at Bisque N Beads!

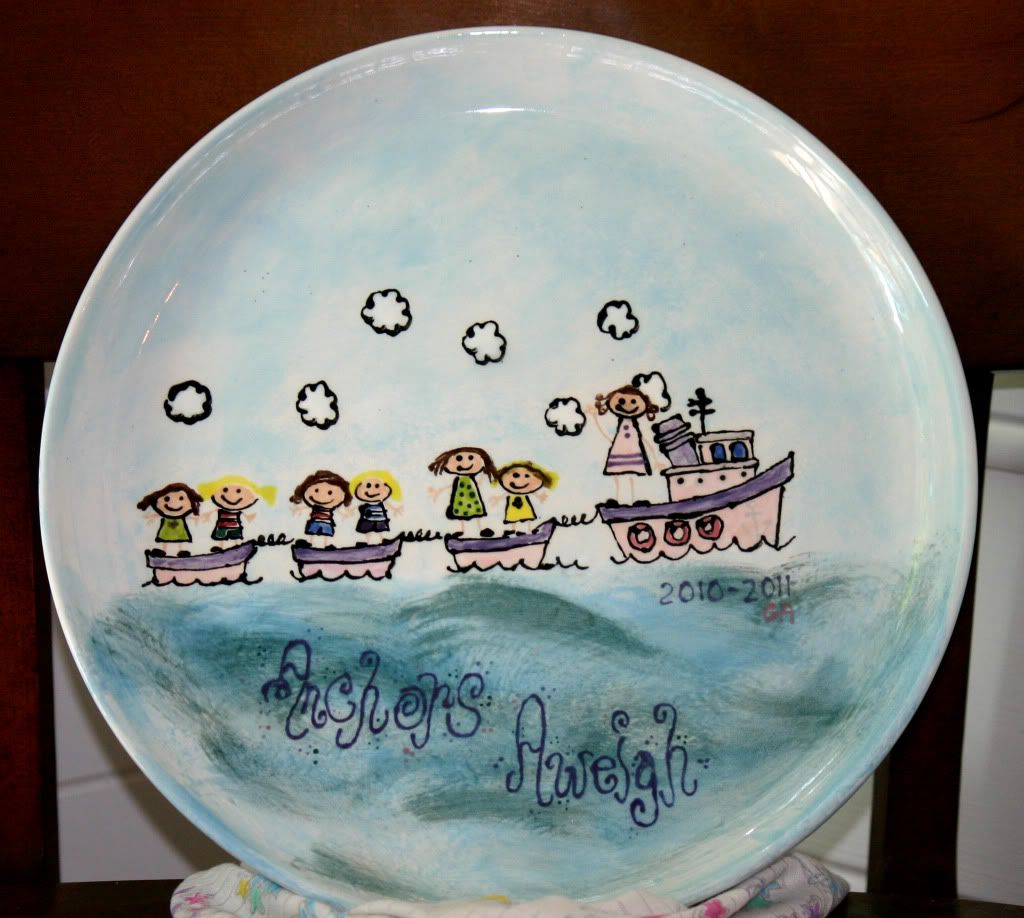
I had the pleasure of helping out with our church's Girls in Action group this year. The girls were amazing, but what was more amazing was the work and dedication of Mrs. Lisa, the group's leader. I knew there was no way to thank her in a way that could begin to match the time, talents and resources she put into the group, so I did the next best thing. I made her something!


Last Friday, I loaded my Stampin Up! Boatloads of Love, along with my All in the Family stamp sets into my craft bag and headed to Bisque n' Beads. This year's theme was Anchors Aweigh, so a nautical themed plate was perfect!

I was so excited to get started on this gift for Mrs. Lisa. I mean really excited. So excited that I showed up about thirty minutes before the place even opened! Now I know. Bisque n' Beads does not open until 10 a.m.. Matter of Fact, NOTHING (except for the little pharmacy) opens before 10 a.m. on the square in downtown Hickory. Hmph. Luckily the weather was nice last Friday morning so I walked down to the pharmacy, bought a Coke and sat on a bench and waited for the store to open.

Once they let me into the store, I went to the wall, picked out a big plate that would be the perfect size for Lottie Moon cookies and got started. I stared by stamping the images directly onto the bisque. I used Memento Tuxedo Black (my favorite). It really didn't matter what ink I used at this point. The ink will fire out. If you want your line image to work directly from the stamp, you have to stamp with actual pottery glaze. In this case, I traced back over the lines with a fine tipped squeeze bottle of pottery paint. This was a good thing because I accidentally stamped a cloud a little too close to where Mrs. Lisa's head was supposed to be stamped! I had a little bit of overlapping going on for a while!

After that, I painted, and painted, and painted! I was there for over two hours, but here it is. My gift for Mrs. Lisa. I gave it to her on Wednesday night and she loved it. There's just something about hand painted pottery. Love it! :)

Monday, May 23, 2011

My little terrarium.


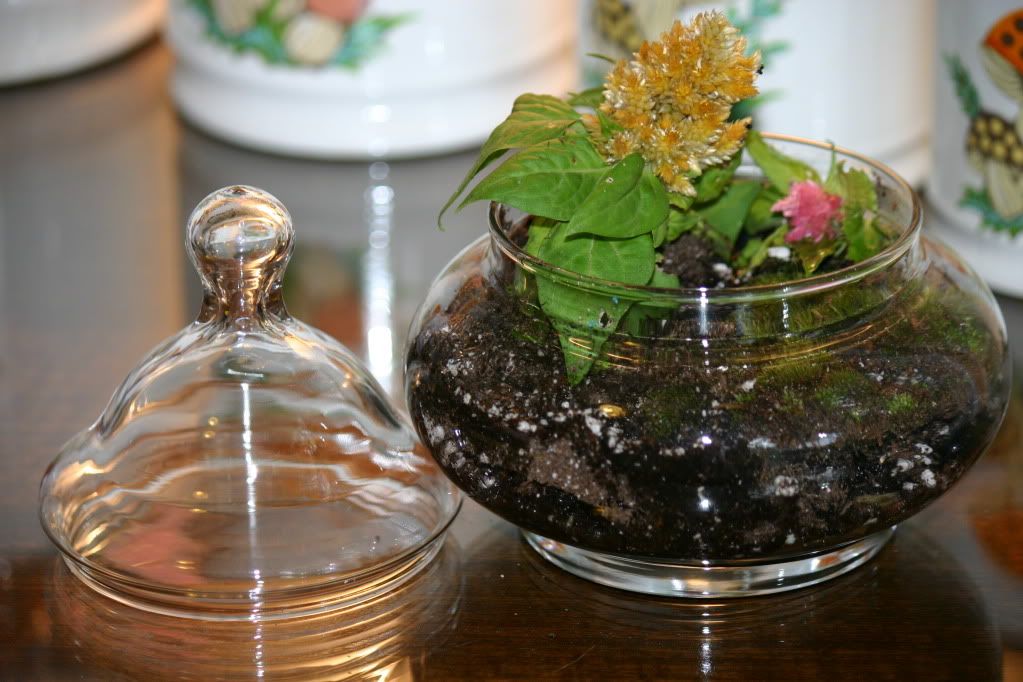
I've been wanting to make my own terrarium for about a year now but never got around to it. Until today, that is! I found this little glass jar this afternoon at the thrift shop and knew that today would be the day to make my very own terrarium! 

The jar is a little Anchor Hocking candy jar. It probably sat on some cute little old lady's coffee table for years filled with stuck-together-in-one-solid-lump hard candy. It is now filled with rocks, marbles, potting soil, a little bit of moss from the yard, and a little plant that my son gave me for Mother's Day. Not exactly an edible switch, but neither is that old hard candy! I also hope to find a mini mushroom and cute gnome figurine to place inside. I'll probably find these items on Etsy. I'm sure of it.


This is such a fun and easy little project. I see a few more terrariums in my future! If you're a friend of mine, I hope you like them too. Don't be surprised if you get one from me as a gift. :)

Thursday, May 19, 2011

I'm officially Caboodles crazy!

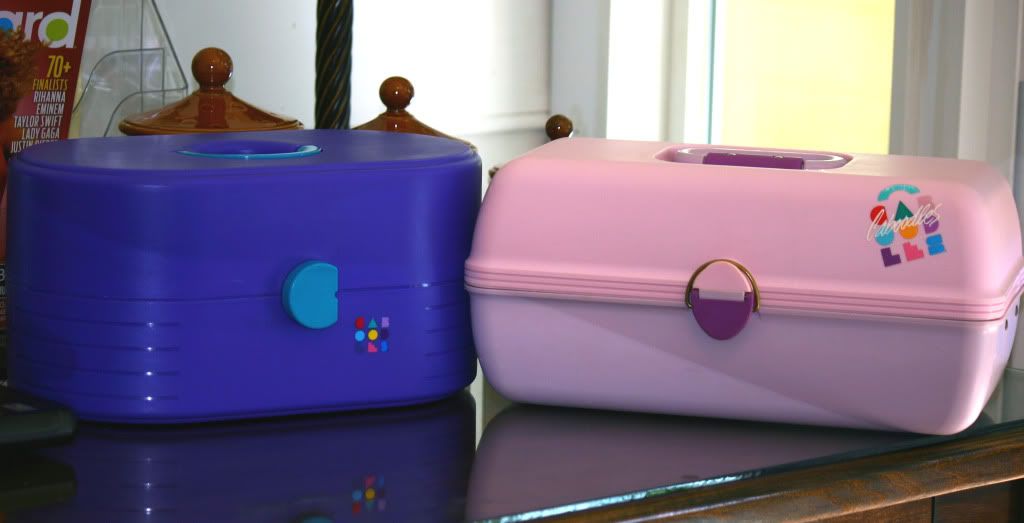
Since buying that pretty blue Caboodles (and that big Sassaby) less than a week ago, the wheels have been turning. There are so many things that I can store inside a Caboodles, so I was thrilled to find two more today!


The pink and lilac one is my favorite, but boy was it a mess! It was covered in scuff marks and grime, but nothing a bottle of orange cleaner & degreaser, an old toothbrush and my Magic Eraser couldn't handle! Also, a little furniture polish works wonders when it comes to removing old stickers and gunk.


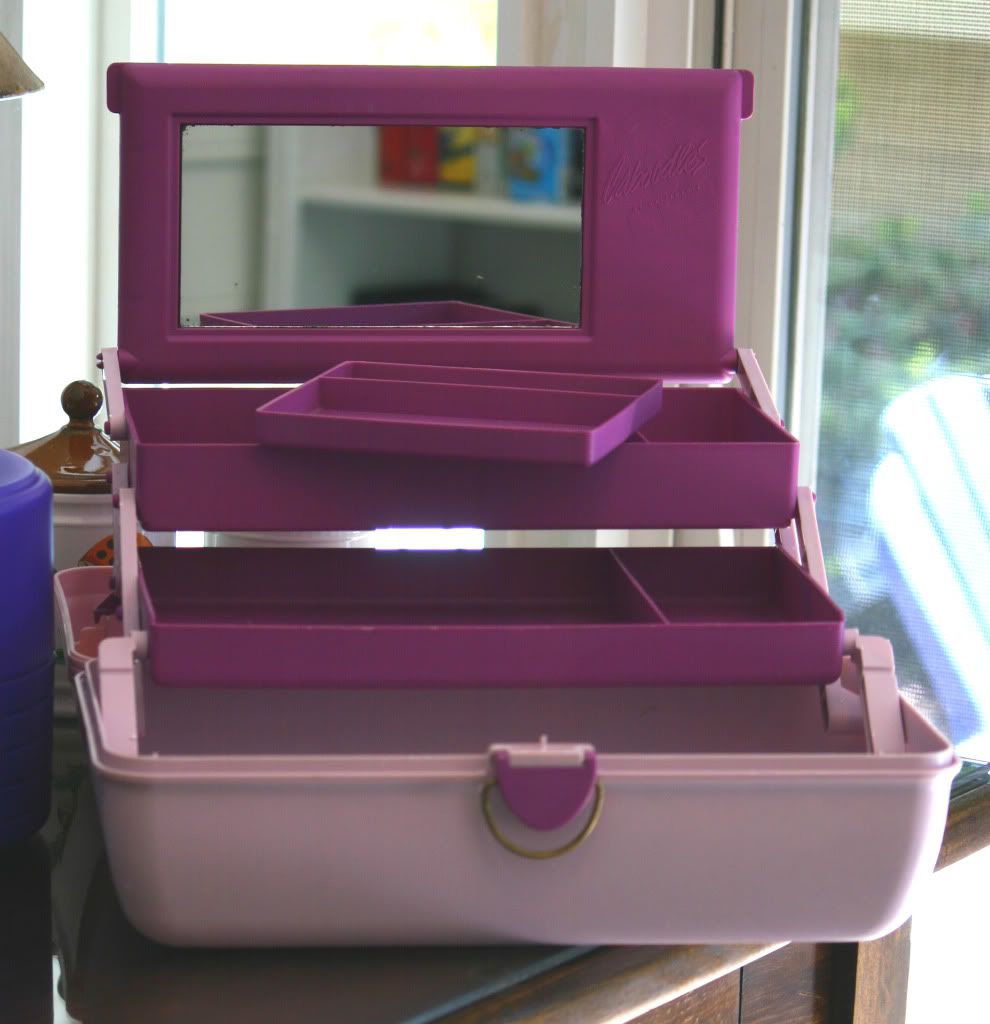
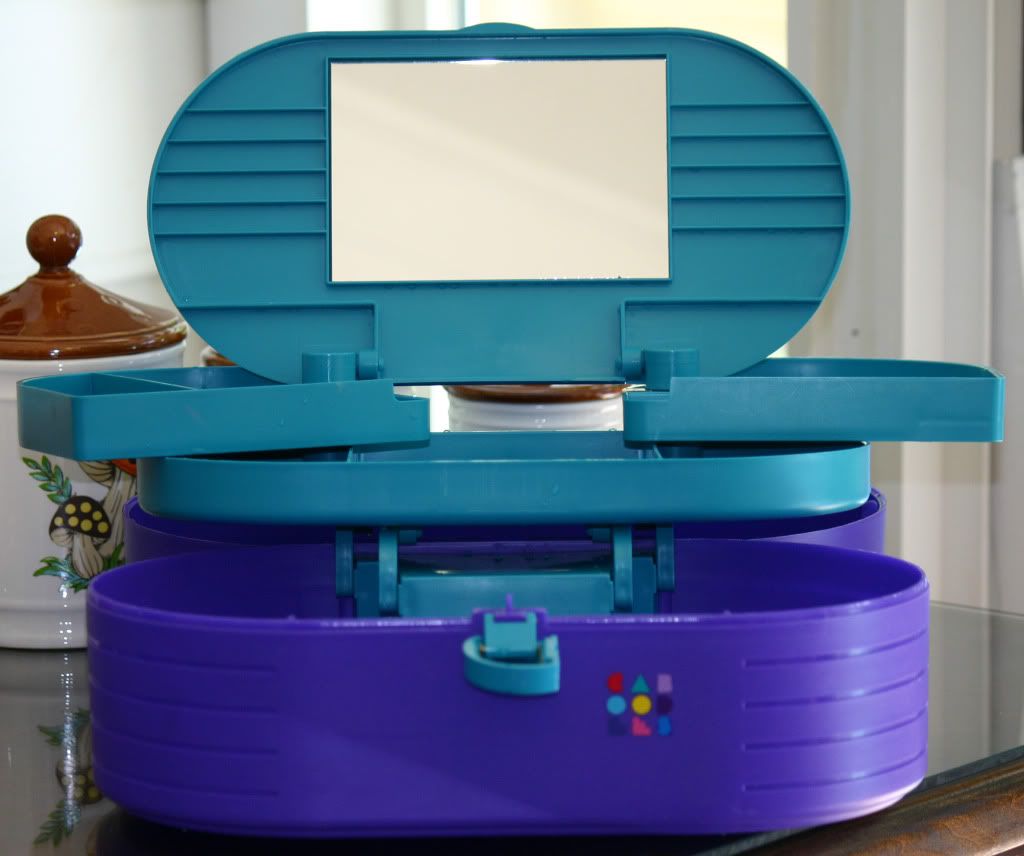
What I love about this pink and lilac beauty is its size. It is made just like the caboodle that I used to have back in the day too! My old buddy, oh how I miss you! It has two tiers of shelves, a removable tray and a mirror. You could call this the deluxe model! :) Now that it's all cleaned up, I've decided to move my makeup over to this baby! I need that mirror.


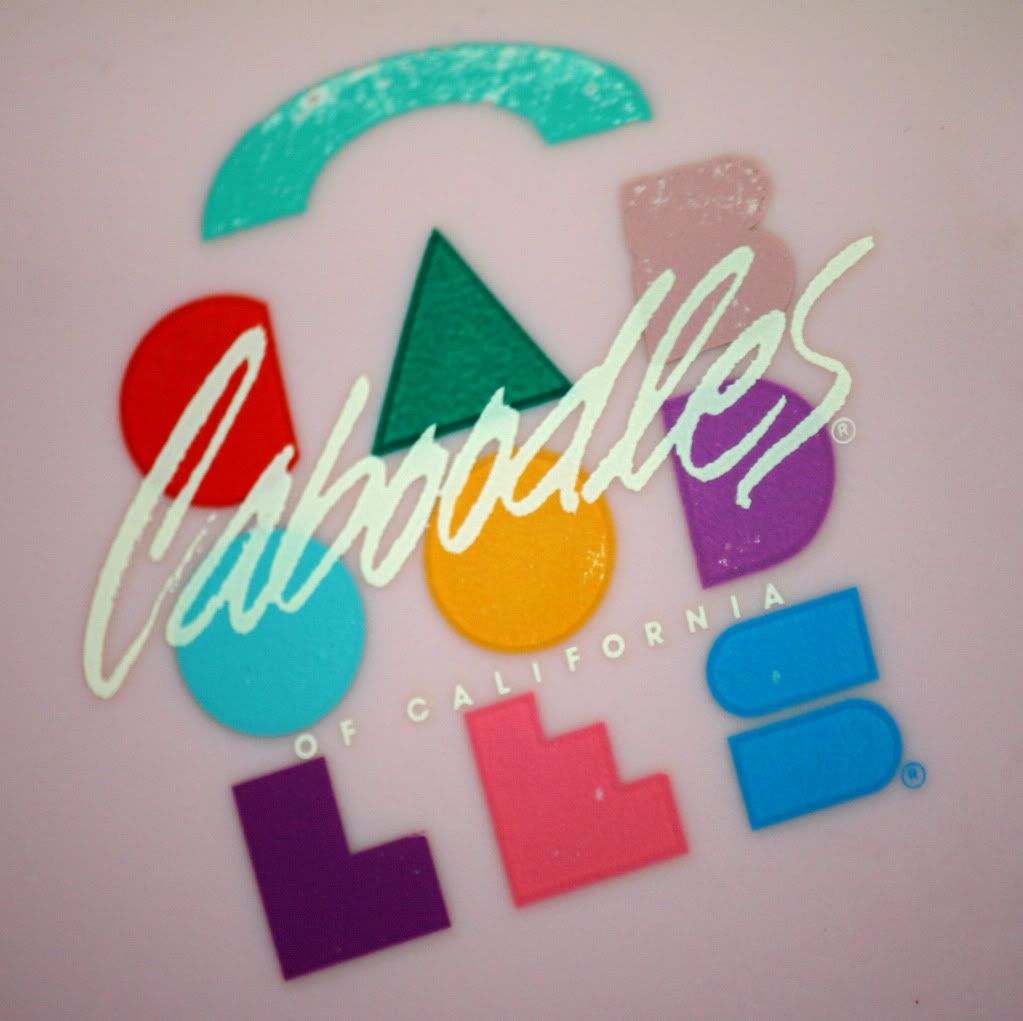
I do have one word of caution about cleaning your Caboodles with a Magic Eraser. Don't wipe it over the logo. I'm pretty sure I did that on this one. See where it's a little rubbed off on the top? It doesn't take much elbow grease to either! I didn't realize I had done that until I was drying it off. Sigh.


Here's how the oval shaped caboodle opens up. I'm really not sure how old this one is. When I look on eBay, I see that some people are saying this one is a style from the '80s, but I don't agree at all. The mirror looks brand new and the plastic doesn't look very old. It also has a recycling symbol with the number 5 inside. That's a dead give away that it isn't as old as the others. I think I shall call this one my new nail polish kit!

These boxes are just so much fun. They come in some funky colors that I'd really like to have so my quest continues! Meanwhile, I'll be happy with the ones I have for now. I'll also be happy to share them with my daughter. You know Caboodles crazy tends to run in the family. :)

Pin It